For immunoprecipitation (IP), there are four main components that you can control to get good results: protocol, resin, format, and antibody. In this article, I share my tips for you to get it right from the start.
Four components determine your success
IP is when you use a specific antibody to isolate and concentrate an antigen from a sample. The word immunoprecipitation comes from the early use of antigen-antibody binding to precipitate antigens. Today, a better description would perhaps be immunocapture. Unlike column affinity chromatography, however, the goal with IP is to isolate just enough antigen to enable measuring it by, for example, Western blotting. There are four main technical components that you can control for a successful IP.
1. Choose the proper protocol: direct or indirect method
The basic IP protocol is shown in Figure 1, where the order of steps can be done in two different ways.
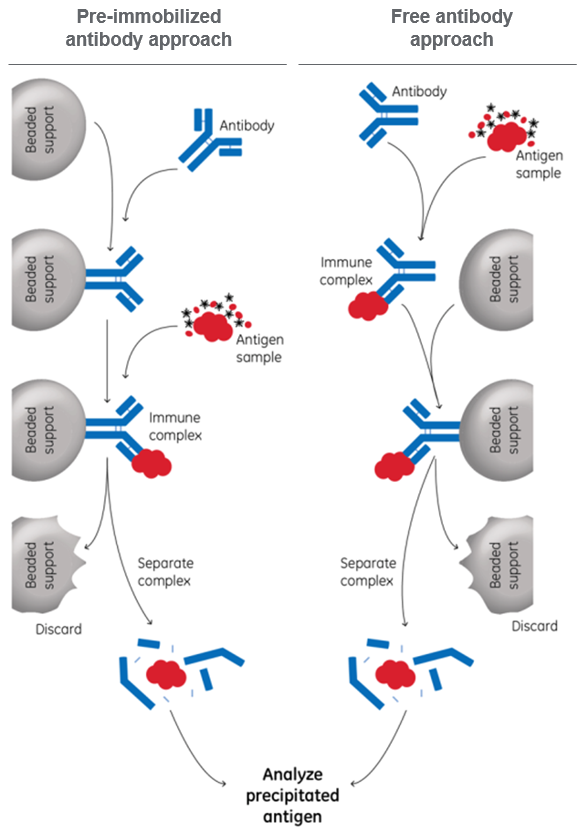
Fig 1. Basic protocols for performing immunoprecipitation, using either pre-immobilized or free antibody.
Direct method = pre-immobilized antibody approach
In this method, the antibodies are attached to the beads in advance. The direct method gives you better control of the antibody binding and is the only way if you wish to immobilize the antibodies covalently to the beads. This way, you can make sure that the antibodies will not elute and interfere with the subsequent analysis.
Indirect method = free antibody approach
In this method, antibodies are incubated with the antigen before beads are added. The indirect method is very easy to use, has fewer steps, and can be used if the antibodies do not interfere with following steps.
2. Choose an appropriate Protein A/Protein G chromatography resin depending on your antibody
To isolate the antibody-antigen complex, you commonly use a solid phase to remove unwanted sample components. There are two well-suited protein ligands for binding IgG type of antibodies: Protein A and Protein G. Both bind strongly to the constant region of the antibody, meaning that they will not interfere with the antibody-antigen binding. Protein A and Protein G bind to slightly different parts of the antibody, which will impact binding to antibodies from different species.
In addition to having a proven track record, Sepharose resins from GE are frequently used due to properties such as low non-specific binding.
3. Select a suitable format
The format should be selected depending on the number of samples, laboratory equipment, and your personal preferences. GE offers Protein A and Protein G ligands immobilized to different beads and formats, allowing for manual or automated immunoprecipitation, using magnets or centrifuges for bead recovery (Table 1).
Table 1. Product formats for IP based on the Protein A and Protein G ligand
| Format | Magnetic beads | Loose resin | Spin columns | Multiwell plates |
| Product picture | 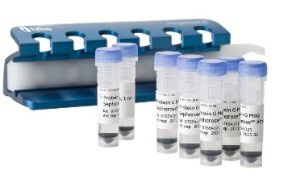 | 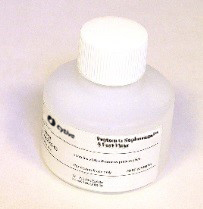 | 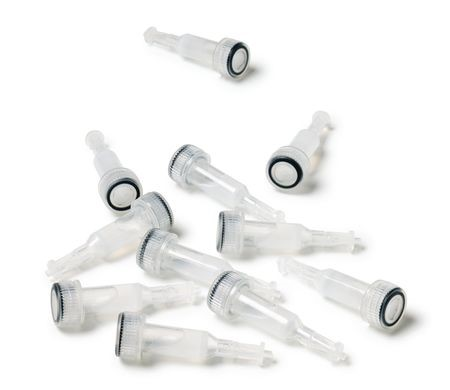 | 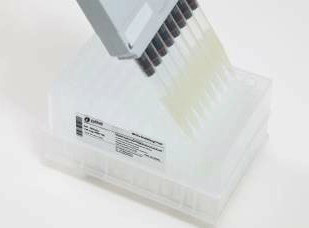 |
| Protein A products | Protein A Mag Sepharose | nProtein A Sepharose 4 Fast Flow Protein A Sepharose CL-4B | Protein A HP SpinTrap | Protein A HP MultiTrap |
| Protein G products | Protein G Mag Sepharose | Protein G Sepharose 4 Fast Flow GammaBind Plus Sepharose | Protein G HP SpinTrap | Protein G HP MultiTrap |
| Protein A & G products | Sera-Mag SpeedBeads Protein A/G Magnetic Particles | Immunoprecipitation Starter pack |
4. Choose the right antibody
Last, but not least, the choice of antibody will also contribute to your success.
Commercially available antibodies are frequently used for immunoprecipitation applications, but they are common causes of problems too. The batch-to-batch variability can give rise to differing results between IP experiments. In addition, antibodies often cross-react with proteins that display similar antigen epitopes.
In an upcoming post, we will give additional recommendations related to antibody choice and how to troubleshoot in a structured way.
Share your own tips and ask a question on the Discussion forum.